Sunday, July 28, 2013

Butternut Squash Lasagna Roll-ups

Probably one of my favorite tastes is a nutty, orange squash recipe...something slightly sweet and savory, with an earthy goodness (lame descriptor, but it's so true!). Pumpkin and butternut squash are my faves. If my mother read this, she'd probably let out a big, exhausted sigh of disbelief and roll her eyes. She spent much of my childhood relentlessly trying to get me to eat squash. It didn't matter how creative the recipe, I was having no part of all that. Now, I can't get enough...funny how tastes change over time. Sorry, Mom!

But I digress...

I wanted a quick recipe to satisfy my sudden squash craving tonight, and was pleased to find something that didn't require me trying to get all crazy and make my own pasta/ravioli. The recipe: Butternut Squash Lasagna Roll-ups, courtesy of this blog.

The recipe seemed pretty straight forward and quick, and I only needed two ingredients from the store. I got home from the store, gathered up my ingredients and started reading, only to discover the recipe called for COOKED squash..uh oh.

Every recipe I could find urged the reader to roast the squash in the oven....I don't have time for all that if I have any desire to keep my husband from turning into Betty White. Since I didn't have any Snickers on hand (get it?), I started to scour the internet for a quick alternative. There were a few microwave options, however, our microwave blew up (true story) about a week ago and we haven't gotten our new one installed. Insert plan B: "Cant I Cook This Squash Like A Potato??"

I split in half, cored, and peeled the outside skin from the squash, and then cut each half into 4 or 5 long spears to help speed up the cooking process, and in they went into the boiling water. After 10 minutes, they were the perfect softness to mash for this recipe! 

And, without further delay:

Butternut Squash Lasagna Roll-ups
Yield: Make 9-12 Lasagna Roll-ups
Ingredients
  • 3 T. butter
  • 1/4 c. flour
  • 2 cups whole milk
  • dash nutmeg
  • salt to taste
  • 2 cups finely pureed cooked butternut squash, well salted
  • 9-12 lasagna noodles, cooked
  • 1/3 cup shredded Parmesan cheese
  • 1 cup shredded mozzarella cheese
Instructions
Preheat your oven to 375 degrees and butter a baking dish (pie plate, cake pan... doesn't matter).
In a medium sauce pan melt the butter over medium heat. When the butter is melted add the flour and stir to combine. Let the butter and flour cook for 30 seconds. Slowly whisk the milk into the butter and flour mixture. Add the dash of nutmeg and salt to taste (you'll need quiet a bit of salt, around 1/2 tsp). Whisking often, cook over medium heat until the mixture starts to bubble. Allow the mixture to cook for 2 additional minutes and remove from the heat. Add more salt to taste.
To assemble the lasagna roll-ups, lay out the cooked lasagna noodles on your counter top. Spread around 2 tablespoons of the squash puree over the top the entire length of the lasagna noodles. You make have a little left over, feel free to distribute the remaining puree over the noodles or enjoy for a little pre-dinner snack. Sprinkle the Parmesan cheese all over the squash puree.
Starting at one end of the noodle roll it up like a cinnamon roll or jelly roll. Place the rolled noodle in the greased baking dish with the end of the noodle on the bottom so they don't flap open. Repeat with remaining noodles.
Once all of the noodles are in the baking dish pour the white sauce you made on the stove evenly over the top of all the lasagna roll-ups. Sprinkle the dish evenly with mozzarella cheese and bake for 20-30 minutes until the cheese is melted and everything is hot and bubble. Allow the dish to rest for 5 minutes before serving hot.
Notes:
Salt is very important in this dish. The flavors are very mild and light, so under-salting will lend to a very bland dish. I use pink Himalayan salt, a genius discovery courtesy of my mom-in-law, which has a much stronger flavor, without that "salty" aftertaste. Try it. I highly recommend it. 

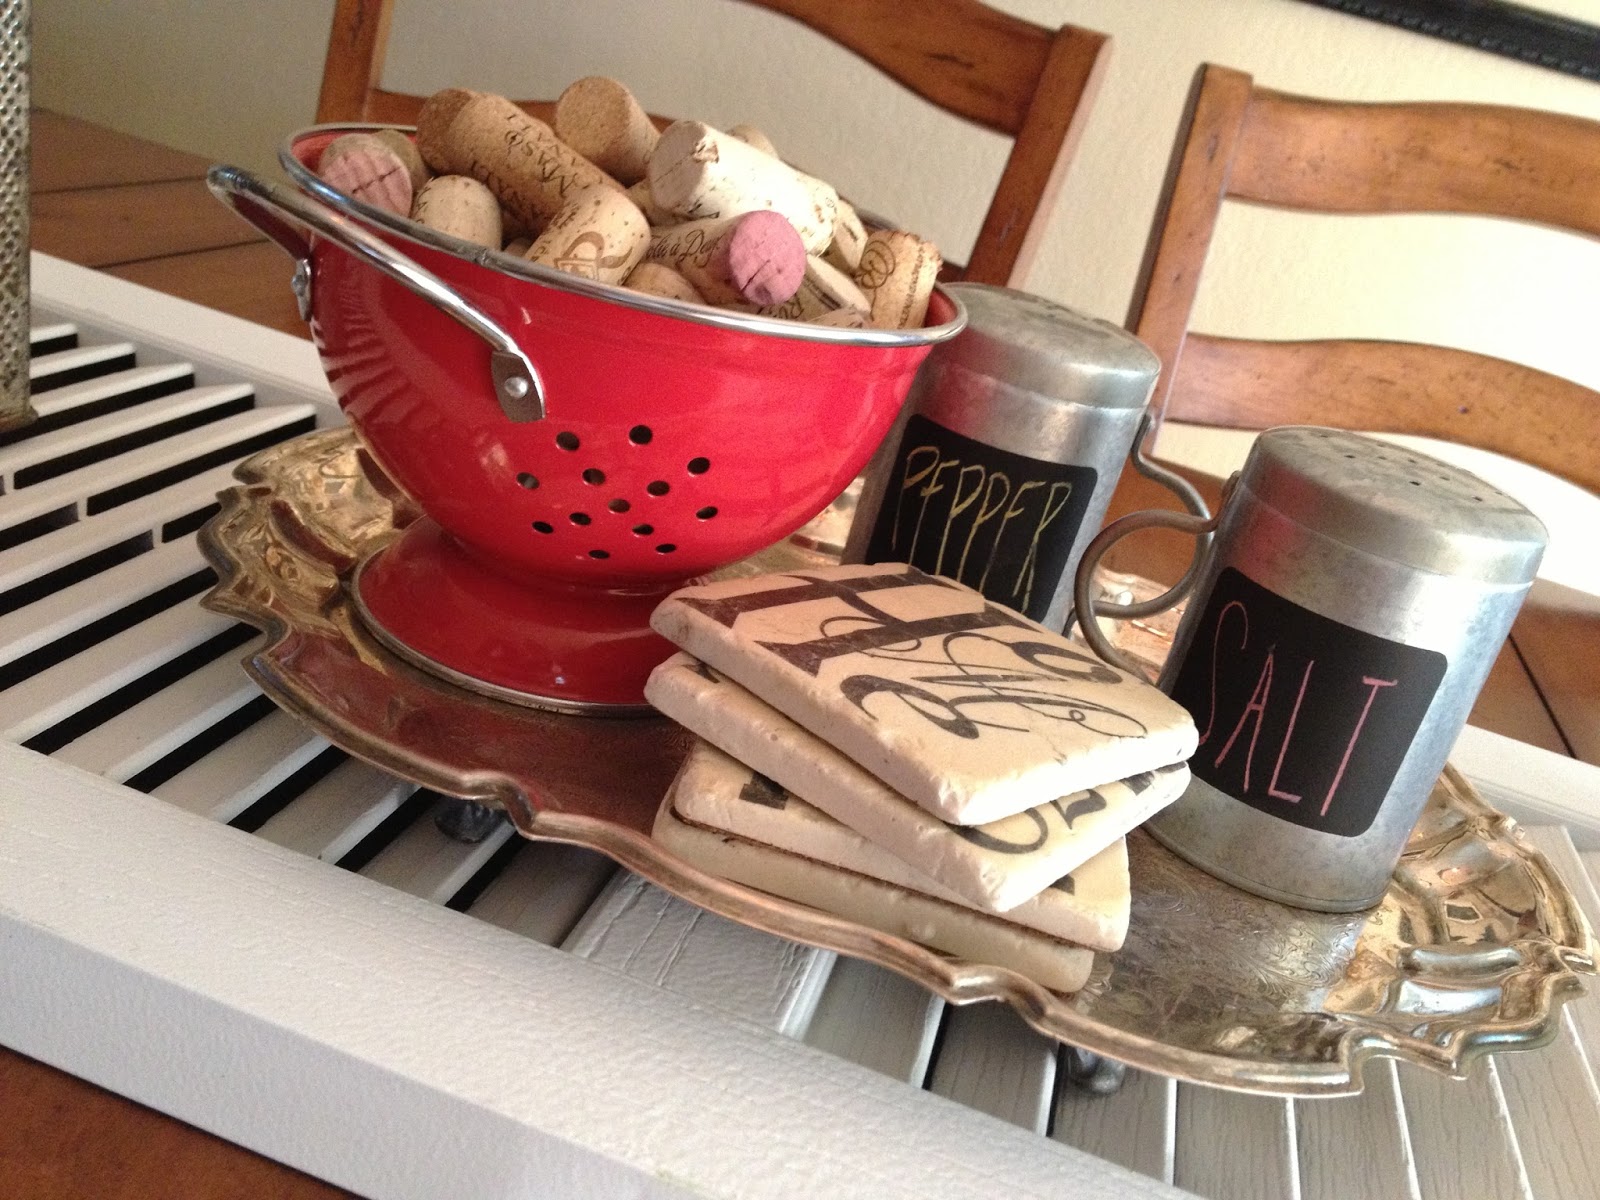
Table Runner

Community junk days have been good to me this year. Among my finds was this old white shutter that had me immediately thinking of this table runner idea on Pinterest:

http://www.ehow.com/clips/5166120/

Paired with some vintage graters I've been collecting, here is my take on the idea:


As a night-time bonus, I put tea lights under each grater!

Thursday, July 11, 2013

Green Thumb attempts

This year I really stepped up my landscaping game. By that, I mean I actually attempted to do more than just keep our pre-existing landscaping alive.

This year, I created 3 potted plant arrangements, and planted.a.tree.

Pot #1 appropriately set the theme:


Pot #2 for the front steps:


Pot #3 was an unexpected holder of overflow flowers. Since this picture was taken, these flowers have taken OVER this pot! They look so pretty!

Last, but CERTAINLY not least, Grandpa & Grandma H. gifted me with a cherry blossom tree for my birthday this year. What a creative and thoughtful gift! I saw this strain (?) of cherry blossom while in Chicago for work and posted it on my Facebook to see if anyone knew what it was. Fast forward a year later and it became my birthday present! I think Mr. A and I almost killed each other trying to plant the thing along the side of the house, both of us having NO idea what the heck we were doing and nervous that we'd kill the thing. 

We weren't even sure if we should expect leaves this year, but, about a month after we planted it, we walked outside one morning to notice this development:


And there you have it. Next year, Ill try to venture even further out of my plant killing box. :)

Friday, July 5, 2013

One of these things is not like the other...


As we begin our spare bedroom-turned office transformation, my jewelry armoire (a 25.00 craigslist steal from a few years ago) needed to move into the master bedroom. The problem: 1990's honey oak. It hurts my eyes. I apologize to all of you natural wood lovers, there is just something about it that gives me the heebs....

Now, let me clear up any mis-conceptions--I may have a plethora of furniture painting tips on my pinterest boards, but that is by no means a reflection of the amount of furniture transforming I've done thus far. The thought of ACTUALLY refinishing furniture is a little intimidating. My goal was to re-create the smooth pottery-barn black of our dresser. The trick--THIS little magic roller. Made specifically for painting cabinetry, this roller creates a factory finish with very little effort. Without it, I don't think I would have stood a chance. The best part: it cost less than 3.00.


After taking out all of the little compartments, it made the perfect cubby for a little visitor:

I used Rust-oleum gray primer, which covered well and dried quickly. By the time I was done priming the whole thing, it was already fully dry and ready to paint.

From there, I color matched the black paint from our dresser in Behr brand paint, and got to work.


I decided to leave the pulls in their original state; they were a pretty close match to the pulls on our dresser, so I seized the opportunity to save myself some time and money. 


Tuesday, July 2, 2013

Washi Love

I finally jumped aboard the washi train. Washi tape has been making an appearance on my pinterest feed, craft sites, and blogs I follow as of late.  My inspiration?? This:

http://www.brit.co/washi-workspace/

I jumped at the opportunity to cover my laptop in colorful washi...it should really come as no surprise. I was the kid who ordered the 100 sticker packs from my Scholastic Book Orders, and upon their arrival, covered the side of my dresser with every last one. Unlike washi tape, those stickers were a little more resistant at coming off. So resistant in fact, that as I gathered and packed my things to head off to college, I gave a quick goodbye smile to my sticker-embellished dresser, a forever reminder of the decor commitment I had made 11 years earlier. 

Washi tape must have been made for me. It enables me to add a little unconventional fun to my space without the commitment and lifetime of adhesive that not even Goo Gone could touch.

Finding these for less than 2.00 a pop, it was a cheap weeknight project. I was surprised at how well an exacto knife worked at getting the tape to perfectly cover each key.

My take on the washi-covered keyboard:


Stay tuned for part 2, DIY laptop skin!

Tuesday, May 21, 2013

Dessert Table Label


{...say that five times real fast}

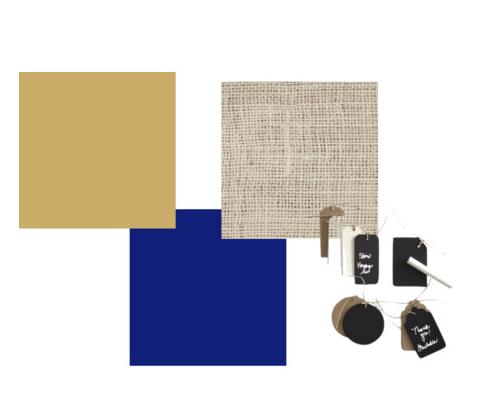
As an experiment in testing out new areas of interest, I am helping an old boss with her wedding this June. I've gotten a chance to dabble in a little bit of the last minute decor items she needed help with. In the simplest of simples, she was looking for a cute way to identify flavors at her dessert table. Her wedding has a classy rustic feel, with neutral hues of wood, burlap, lace, and baby’s breath, accented by a pop of navy blue.


Her reception is at a local winery, so I dug deep down into my stash of wine corks, snagged some seriously cheap unfinished wood squares from Hobby Lobby, and armed myself with my chalkboard paint {this really shouldn't even surprise you}.


I chalk painted both sides of the bare wood forms and let them dry. Then, I picked out as many different brands of wine corks as I could find, and hot glued one to the front and back base of the wood form.


{love}


Monday, May 20, 2013

Towel Cake gone wrong

My super sweet friend, Holly, and I decided to get creative for our friend Betsy's bridal shower gift a few weeks ago.

FAIL. {ish}

We envisioned a tiered towel cake complete with fun kitchen utensils to encourage Betsy in the kitchen as she starts making dinners for her new husband next month. We headed to target and picked up an assortment of brightly colored items.

Our base was a silver serving platter from Target's Threshold line that we found on CLEARANCE!? {diamond in the rough, and Betsy, you're lucky there weren't 2 more, or we'd all have matching serving platters!}

Brightly colored mixing bowls were to serve as the "bones" of our towel cake, which we had planned to wrap with several stark white, bold green, &  orange tea towels. We found fun utensils in coordinating colors, spatulas with kitschy sayings and patterns, modern recipe cards with simple graphics, etc.

{Look at Holly practicing her best "if I cant see you, you can't see me" for the camera!}


It took all of 5 minutes to discover that either A) Holly and I are NOT faux cake makers, and/or B) Unless we wanted to gift our friend Betsy with approximately 40 tea towels, this was going to be a sinking ship.

We quickly revised out plan, which included 2 rolls of toilet paper (just try to find them! I bet you can't!), and we were thankful at our failure. It lead us to a much better place.


We each stole 2 recipe cards out of the stacks we bought, to write down a few of our own easy favorites. Meal planning is hard! We're here to offer all the support we can! :P


Betsy, Holly and I hope that these crazy-silly utensils help keep you in the kitchen trying out new things!

The Summer Three

Sometimes it's important to capture random iPhone memories, and there were three photos I stumbled upon in my recent photo album browsing that had me thinking: What great summer memories!!

1. Mr. A's first mow of the season got our Herky extremely excited. He did so many laps around dad while he was mowing, that he grass-stained himself!!

2. Mr. A and I planted our first TREE. Ever! Tensions where high. So were nerves. Would we mess it up? we didn't even own a shovel! But, thankfully, after a morning of studying instructions and bothering everyone at Home Depot, we have ourselves our very first tree. It's a variety of Cherry Blossom that my Grandparents-in-law got my for my birthday! I can't wait to see it grow!

 3. SNOW IN MAY. What!? Just as the grass got the greenest I'd seen it so far this year, and the flowering tree in our front yard got loaded with blooms, we had a substantial snow-storm. First snow in May since 1907. WOW. It definitely looked like season confusion driving down our street lined with flowering trees and heavy white snow. It was interesting, and okay, even a little pretty.


Wednesday, May 15, 2013

Chalkboard Love

I have a serious love of chalkboard art....as such, I have had the extreme privilege to be an intimate part of one of my best friends' pregnancies through the art of chalk.

You may remember a post in mid-2012 where I talked about the chalkboard I'd be doing for my friend, Holly's pregnancy. I found a $6.00 oil painting at Salvation Army, painted the frame, chalked over the painting, and went to work. Every single week of my friends pregnancy, we worked together to create a fun chalk-board themed drawing. Not all of the weeks were "blow your mind", but we kept reminding ourselves that "They can't all be awesome!" LOL. As crazy as it seems, we're coming up on one year ago this May when we started this crazy chalkboard journey together. I started to reflect on this tonight....It squished Holly & I together each week for that 9 months-ish...it didn't matter how busy, tired, un-showered, sick, hungry, or sad we were, we made sure that each week, we met up to work on the board. Holly would inspire, and I'd draw and erase a hundred times, and we'd finally come up with something good for that week of pregnancy. As I'd draw, we'd share funny stories, giggle, sing along to old '90's favorites, talk about pregnancy "firsts", cry about frustrating life circumstances, challenge each other spiritually, ect. I will never forget the time we got to share together weekly, and how a simple chalkboard allowed me to spend one of the most important times in my friend's life with her.

Ms. Emma is 4 months old this month, and Im so thankful that we've gotten to continue our "board-bonding". Ive continued to make chalkboards, now monthly, as Emma grows each month of this first year. I have to admit, it will be bittersweet when Emma turns one and the board gets retired. Either way, I am eternally grateful for the special bond formed with Holly and now Emma throughout this last year, and it will be an experience I never forget! 

"HI FRIEND!"
Photo Courtesy Sara Nebel Photography


Preview of month 4:

Interesting in purchasing your own chalk-board prints? Message me for details! I'd love to work with you! chellejo@gmail.com 


Tuesday, May 14, 2013

Happy Mother's Day!

This Mother's day was extra special because it was also Mr. A & I's 1 year wedding anniversary. Holy Cow!

For Mothers gifts I tried my hand at the popular "sharpie mugs" that have been popping up every few days in my Pinterest feed. I decided to go with a tea theme, and each mug was different.

First, I picked up some tea cups. These are from Target's Threshold line. Swoon.
Next, I armed myself with some metallic gold and black sharpies and went to work:


The backs were all embellished with a sharpie-drawn tea-tag:

Then, what would a hand-drawn tea cup be if not accompanied by a home-baked treat!
I found this idea for tea-bag shaped shortbread cookies on www.ediblecrafts.craftgossip.com


I used Ina Garten's shortbread cookie recipe. 3 STICKS OF BUTTER!? {Sorry fam!}

They were super simple to make, and surprisingly great! (Ive never met a cookie I didn't ruin in the oven) 


Saturday, March 30, 2013

Easter Decor on a Dime!

That's right. It's a "using what you've got" sort've post. Obviously we both don't have the same random items laying around our house, but hopefully this post will inspire you to wander your own halls in search of that next great Easter decoration!


After assembling the minimal Easter decor I already had, it was time to build from there. This Easter I'm loving  Bunny Silhouettes, vintage pastels, and bunting!

At the risk of getting carried away, I made 3 bunting projects this year. However, two of them: FREE! Paint chips are a great resource to have on hand for projects. I used a 1 1/2 inch scalloped circle cutter to make this garland for our upstairs fireplace:


I also used them to create a "Spring" banner in our entryway:


Meanwhile, .99 cent packages of Easter eggs can be spray painted in pale pastels, then splatter painted with flecks of brown. We had a few of these little egg cartons floating around the house.


Also, don't underestimate the many uses for felt. Felt sheets come extremely cheap, and it was easy to cover this bare wooden heart that was still laying around from Valentines day.
Next, I used some craft yarn in varying patterns to cover a foam wreath form that I was in the back of a closet waiting for a project to be made from it. The goal in covering the wreath was to be as asymmetrical as possible, but really any style would work great! Since we already had an exterior wreath for our front door, we decided to stick this guy right at the inside of the front entry, above a watering can filled with more eggs. I had really wanted to spray paint these as well, but March in Iowa does not always provide the best spray painting weather. It ended up working out great since the wreath colors were more bright than the dull pastel I had been working with in other areas of the house. 


The 3rd bunting banner I made was less of a "DIY" and more of a "simple assembly" type of project. I found this pack of foam bunny forms in the project isle of the Spring section. I loved their shape more than anything, and decided to attach them to fishing line for the mantle in the downstairs living room. 


 It was easy as pie to fill an old mason jar with the remainder of the brightly colored eggs I had on hand.
Leaning large eggs against pre-existing decor ties everything together without requiring you to have to stow  away your "all-year-long" decor items. 


Also, it definitely wouldn't be holiday decor if there weren't themed chalkboards involved, like this one above.

We also did this guy for the bar-top, and the one below it for the upstairs living area.

This bunny silhouette against a messy chevron pattern was a perfect compliment to the rest of the silhouettes we had hanging around the house. A 2-pack of canvas' on sale were the only big splurge for those projects, coming in at just under $5.

You may have spotted the first canvas hiding in the downstairs mantle:


All I needed to make this one was a print-out of a bunny silhouette cut out, some white yarn, scrap paper, fishing line, and some paint. 
I HIGHLY recommend taking a quick browse through the clearance section at your local Big Box store. There are miss-tints GALORE in this section The price was right for this orange paint, coming in at just 1.00!

The second canvas held the same principle. 1.00 blue paint &another bunny silhouette. 


To make:
  •  Paint the entire canvas your base color, orange in my case
  •  Trace the cutout silhouette template onto patterned scrapbook paper and set aside
  • Once the base color is dry, lay the cutout silhouette template on the canvas and paint over the entire canvas with your top-coat, blue in my case
  • Once dry, glue stick your scrapbook paper version of the silhouette below the painted version!


After Easter, the bunny garland and most of the brightly colored eggs will be packed away; however the silhouettes and banners are the perfect minimal Spring decor this girl loves!